Hey there! This site is reader-supported and we earn commissions if you purchase products from retailers after clicking on a link from our site.
If you have been homebrewing for a while, you are probably hoping to start all grain brewing some time soon. Before you do that, though, you are going to need something called a mash tun. It’s an irreplaceable piece of equipment for all grain brewing. Now, you could procure your mash tun online, but that might be beyond your budget. Why not learn how to build your own mash tun?
Even if you find that you have no talent for DIYs, you’re going to love this one. Building a mash tun is actually very easy and requires just a few tools and items. Not only that, but you can save a large chunk of money. Some DIY mash tuns are a fraction of the cost to make.
All About Mash Tuns
Haven’t used a mash tun (pronounced mash TON) before? That’s okay. We’re going to go over the purpose of mash tuns and how they work right now. There are a couple types of mash tuns, so we will introduce the types and their advantages as well.
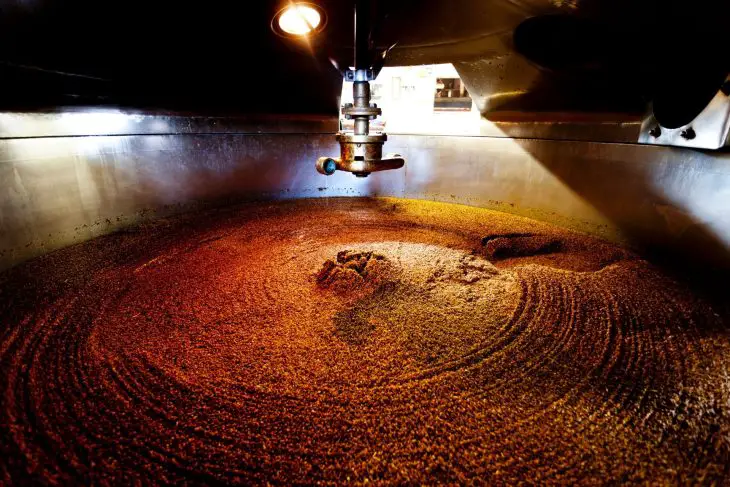
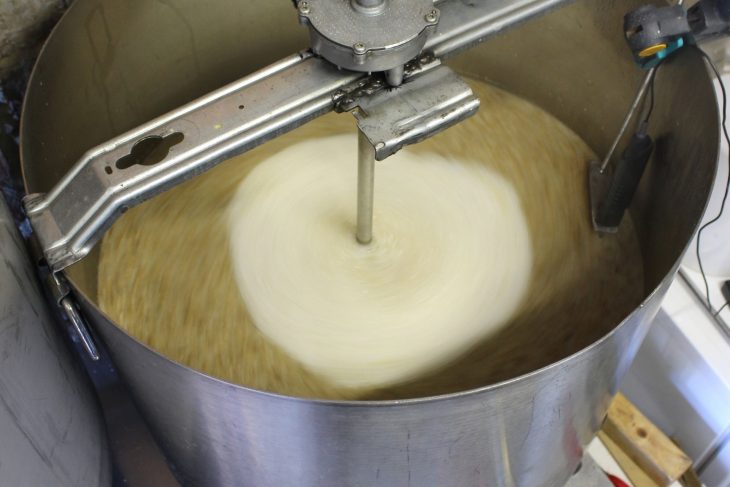
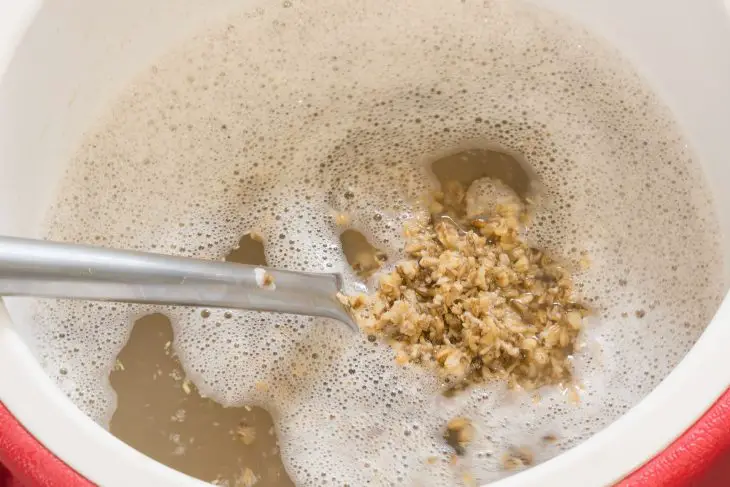
First and foremost: a mash tun is a vessel for holding hot water and grains (wort) during the mashing process in all grain brewing. You need a mash tun to complete your brewing process
Before putting wort into a mash tun, you are going to have to crush the grains. Then, you add the crushed grains, also known as grist, and some hot water to start pulling those starches free. The starches later transform into the sugars you need to create a flavorful beer.
How Big of a Mash Tun Should I Build?
When choosing what size mash tun to build, you need to think about how often you plan on using it and how much beer you plan to make. Also, some recipes are going to require varying weights of grain. This will affect how much capacity your mash tun has and may potentially limit how much you can brew. So, don’t underestimate just how much space you need.
Most brewers are going to be happy with a 10 or 15 gallon mash tun. If you stick with something smaller, such as a 5 gallon mash tun, you may find that it overflows.
Also, if you plan doubling up your mash tun as a lauter tun, you will need to consider all the additional sparge water.
Can I Use a Plastic Mash Tun?
You know how it is sometimes unsafe to pour boiling water into a plastic container? Over the years, the dangers of potentially hazardous chemicals seeping into liquids from plastic has been put onto the health radar. One of those chemicals, Bisphenol A (BPA) was the main concern.
Since a cooler is technically designed to keep items chilled throughout the day, most manufacturers never consider the effect of hot liquids housed inside. The good news is that the interiors of coolers are made non-toxic with food-grade materials.
This means that a common plastic cooler is going to be fine for a DIY mash tun. Just make sure that you are using one that has a removable spigot. Otherwise, you won’t be able to finish your project.
Building a Rectangular Cooler Mash Tun
This is the cheapest method for fabricating your own mash tun.
One thing to note: you are going to need to purchase either copper or stainless steel plumbing parts for the mash tun you’re building. Such metals won’t contaminate your wort and ruin your beer.
You will need the following items:
- 48 quart (45 L) rectangular cooler
- two ¼ inch hose clamps
- ½ inch hose clamp
- 3/8 inch inline nylon valve
- 7/16 inch vinyl tubing
- rubber miniature keg bung
- food grade sealer
- braided stainless steel tubing
- scissors
- screwdriver or socket wrench
- hacksaw
- needle-nose pliers
Next, follow these steps to build your own mash tun:
- Open your picnic cooler and take out the nut from the back of the spigot. Pull the spigot off entirely.
- Take the plastic plug out from the bung. Fit the bung into the opening where the spigot came from. If you must, add some food grade sealer to the bung to stop any leaks.
- Fit some vinyl tubing through the keg bung. Leave enough hanging outside the cooler as well as inside.
- Using your hacksaw, remove the ends of the stainless steel tubing. Pull out the plastic tube inside it. If you have issues grabbing it, use the needle-nose pliers.
- Pinch one end of the stainless steel supply line shut with your pliers. If there are any frayed edges, curl them around the end to make the edge neat.
- Grab your ½ inch hose clamp and put it on the supply line’s open end. Next, fit the line onto the vinyl tubing within the cooler. Secure the braided supply line to the vinyl tubing by tightening the hose clamp.
- Place a ¼ inch hose clamp on the outside end of the vinyl tubing. Follow up with the nylon valve. Keep the valve sung by sliding the hose clamp down then tightening it.
- Take your other ¼ inch hose clamp and put it on the vinyl tubing. Afterwards, slip the vinyl tube over the other end of the nylon valve. Secure with the hose clamp. Doing so allows you to get better control over the liquid as it moves into your brew kettle after mashing.
And that is that.
Building a Circular Cooler Mash Tun
Remember to grab either stainless steel or copper plumbing pieces! You will need the following items:
- 5 or 10 gallon (38 L) circular/cylindrical cooler
- ½ inch coupling
- 90 degree street elbow
- a ½ inch hose barb fitting
- ½ inch ball valve
- a ½ inch long pipe nipple
- ½ inch cam lock (quick disconnect)
- ¾ inch silicone gasket
- ½ inch silicone tubing
- hose clamp
- large washer
- straight-threaded lock nut
- plumber’s tape (sometimes called Teflon tape)
- braided stainless steel supply line
- awl
- socket wrench to adjust hose clamp
- wrenches
- hacksaw
- needle nose pliers
How to build a cylindrical mash tun:
- Take off the cooler’s lid. Locate the gasket nut on the spigot and take that off. Pull out the spigot.
- Use the plumber’s tape to wrap half of the pipe nipple. Always move in a clockwise direction when applying thread seal tape. That prevents it from unraveling while you screw in a fitting.
- Put the gasket at the center of the pipe nipple.
- Take your large washer and put it against the side of the gasket that isn’t taped. Screw the lock nut into place behind the washer.
- Insert the taped side of the pipe nipple into the spigot then out the front of the cooler.
- The ball valve then goes on the exposed end of the pipe nipple. Tighten it with your hand. Hold the lock nut in place with a wrench while using a second to completely tighten the ball valve.
- Pour some water into the cooler to check for leaks. If any water seeps from the valve, you will have to tighten it a little more. Repeat until it doesn’t leak. Be sure to remove the water before proceeding onto the next step.
- Using the hacksaw, remove the ends of the stainless steel supply line.
- There should be a plastic tube within the braided tube. Remove that. You can use pliers to get a hold on the plastic tubing, if necessary.
- Using your pliers, fold over one end of the stainless braided tube. Crimp it closed to seal it.
- The other end of the tube stays open. If there are any fraying edges, roll them into so the edge is clean.
- Attach the ½ inch coupling to the hose barb fitting. Place this inside the cooler, screwing the coupling to the pipe nipple.
- The end of the hose clamp goes onto the opened end of the stainless steel braided tube. Next, take the supply line, attaching it to the hose bar. Use a socket wrench on the hose clamp to make it secure.
- Wrap plumber’s tape on the male and female ends of the cam locks.
- The male end of the cam lock pairs with the ball valve.
- Stretch one side of the silicone tubing over the male side of the right angle.
- The female end (B style) fits into the 90 degree angle as well.
- Connect both female and male ends of the cam lock.
Congratulations! You are ready to start mashing.
Building a Converted Keg Mash Tun
Do you have some serious skills with building? Have an empty keg on hand? Then you will have no troubles creating something called a keggle—a combination of the words kettle and keg. It’s a convenient creation, especially if you want to use your mash tun as your brewing kettle.
You need these items and tools:
- one 15.5 gallon (58.6 L) stainless steel keg
- 12 inch glass or stainless steel lid
- weldless mash conversion kit (sometimes called a mash keggle conversion kit)
- dremel or a rotary sanding tool with metal cutting blades and a grinding stone
- drill with a ¼ inch drill bit and 1 inch step bit (it should fit your conversion kit)
- nail
- tape measure
- permanent marker
- tap/keg coupler
- flathead screwdriver
- 120 grit sandpaper
- earplugs and other protective gear, like goggles and gloves
- vise grip pliers
- twine
- crescent wrench
- 3-in-1 oil
Once you have gathered up your materials and tools, you are ready to begin.
How to build a converted keg mash tun:
- Important note: Kegs are pressurized, which could cause serious injury if you don’t relieve the pressure. Be sure to decrease the pressure of the keg before you cut into it. Do this by attaching the keg coupler and opening it slowly. Pressurized air will be released. If you don’t have a keg coupler, press your flathead screwdriver into the valve to open the keg. The downside here is that you could get sprayed by old, pressurized beer—and that can be dangerous.
- Tie some twine to an end of the permanent market. Wrap the opposite end of the twine around the valve atop the keg. You will have to adjust the length of the string so that the marker hangs six inches above the center of the keg. From there, tie the twine off.
- Using the string to keep the marker straight, draw a guideline around the top of the keg.
- Put on your protective gear. Failure to do so could result in injury.
- Prep your dremel or rotary tool. Once you have it ready, begin to cut along the guideline you drew on the keg. You may need to use several metal cutting blades, since the keg will wear them out rapidly. After you have completed the cut, remove the top of the keg.
- Swap out your metal cutters for the grinding stone. Smooth the edges out.
- Finish the edges with the 120 grit sandpaper.
- Ensure the lid you have is going to fit the opening properly. If you need to adjust, use the grinding stone. When everything fits well, set the lid aside and start prepping your drill.
- Measure about 3.75 inches from the bottom of your keg. Mark the spot with the marker. You are going to make a hole, so it has to be high enough from the bottom that the slope within the keg doesn’t upset your valve. 3.75 inches usually works with most kegs, but if you need to go a bit higher, don’t hesitate.
- Drill a pilot hole into the spot you drew with the ¼ inch drill bit.
- Switch to the step drill bit. Start drilling directly into the hole. You will want to keep the speed of the drill about medium. Keep the metal cool and lubricated by applying some 3-in-1 oil. Continue drilling until you have a 1-inch wide hole.
- Using the grinder attachment on your rotary tool, smooth the hole out. You can also use the sandpaper.
- Time for the weldless mash conversion kit. Do a quick check and make sure that the kit contains everything you need. It should have all the threaded pieces already wrapped with the Teflon tape (thread seal tape). If the pieces aren’t wrapped, do it now.
- Grab the bulkhead. Put the larger end through the 1-inch hole at the bottom of the keg.
- Inside the keg, place the gasket and washer. The lock nut then goes onto the bulkhead. Tighten up the connections with the channel locks.
- Fill the keg with water to make sure nothing is leaking. If there is water seeping out, you can grab your pliers to make quick adjustments.
- Put on the compression fitting.
- Twist the screen onto the provided pickup tube. Slide the gaskets onto the tubing, securing the screen in place.
You are now the proud owner of a keggle!
Maintaining Your Mash Tun
Whether you decide to make a converted keg mash tun or the rectangular one, you are going to have to maintain it. Before using your mash tun, clean and sanitize everything thoroughly. You don’t want any remnants of oil or metal or dust getting into your mashed grains or wort.
And don’t get lazy with cleaning out the mash tun every time you use it. The last thing you want is old, crusted mash getting into a new batch of beer. The good news is that cleaning out a mash tun isn’t as complicated as building one!
Cleaning You Mash Tun
Since whatever grains go into your mash tun are going to eventually be lautered, sparged, and boiled, you don’t have to go crazy with sanitizing the entire mash tun. The most important parts are the lines and hardware. You don’t want anything gross clinging to them. So, here are some steps to help you keep the mash tun sparkling clean:
- Rinse out the mash tun with warm water
- Fill the mash tun with clean water. Open the spigot and supply lines to flush out any debris.
- Using a cloth or sponge or even your hand, work around the hardware and braided line to remove grist and debris.
- Rinse out the mash tun again, removing the grist you found.
- Use a dry cloth or towel to wipe out any remaining water before storing your mash tun.
Final Thoughts
There you have it: three ways to build your own mash tun! Which one are you going to try building first? Whichever one you choose, it is going to be key in trying out all grain brewing. The only thing left to do is gather your supplies and get to it. Have fun!
Recommended Reading
Does Moonshine Go Bad? What You Need to Know
Did you finally pull that gifted homemade moonshine from last year out from the back of the refrigerator? You may be wondering, “Does moonshine go bad? Is this fit to drink?”
The Ultimate Guide to Keg Sizes
From mini kegs to half barrel behemoths, today you are going to explore the various kegs sizes available throughout the world.
Choosing the Best Base Malts For Your Beer
What are base malts? Let's delve into of the malting process and learn how malting fits in with the homebrewing process.
Bottling Homebrewed Beer Fast – An Essential How-To Guide
Here is some good news: an essential guide for bottling homebrewed beer faster than ever. Let’s get right to it.
Here’s For The Geeks: Honningbrew Mead Recipe
If you are on the quest for a delicious mead, then here is one you have to know: Honningbrew Mead. The gamers already know about it. Honningbrew mead is a recipe designed from an expensive mead found in the game The Elder Scrolls V: Skyrim.
Ultimate List of Hop Varieties for Homebrewing
147 known hop varieties. That’s a lot of potentials to play around with and discover tons of flavor combinations for your home brewed delight.