
Gose stands out as the perfect summer beer with its unique combo of tartness, saltiness, and coriander spice. This refreshing German wheat beer from Leipzig delivers bright, complex flavors that’ll surprise anyone trying it for the first time. The best part? This gose beer recipe uses the straightforward kettle souring method, making it totally achievable for intermediate homebrewers with basic equipment. You’ll dial in exactly how tart, salty, and spiced you want your batch, then enjoy watching it foam up with that characteristic bright head when you pour your first glass.
Understanding Gose Style
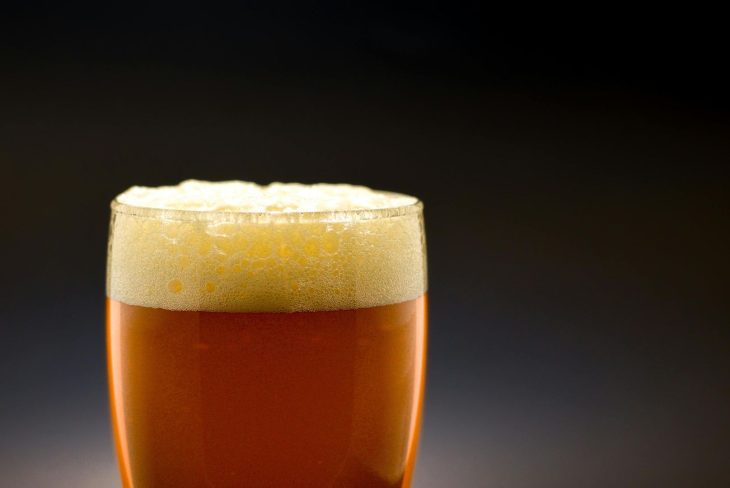
Four elements define gose: a wheat-forward base with equal parts Pilsner and wheat malt, lactic sourness delivering lemony tartness, subtle salt creating barely-there salinity, and coriander bringing herbal brightness. The BJCP recognizes this as Style 23G, clocking in at 4-5% ABV with low bitterness around 5-12 IBU. Expect a pale straw to medium yellow color with noticeable haze and a fluffy white head.
Flavor profile:
- Light fruity notes of apples and pears
- Sourdough bread character from wheat
- Aromatic lemony brightness from coriander
- Medium sourness with clean tartness
- Bready malt backbone
- Tingly, mouthwatering quality from salt
- High carbonation with signature effervescence
- Medium-light body with dry, clean finish
Equipment Needed
Your standard homebrewing setup handles gose without specialized gear. You’ll need a brew kettle holding at least 7-8 gallons, a fermentation vessel with an airlock, and quality sanitizer like Star San. A reliable digital thermometer becomes essential for the kettle souring phase when you’ll hold wort at 90-100 degrees Fahrenheit. A pH meter ranks as highly beneficial for monitoring sourness development, though you can technically sour by taste and timeline alone. Your hydrometer tracks gravity readings, an auto-siphon handles transfers cleanly, and either an immersion or plate chiller speeds up cooling after the boil. If you’ve brewed all-grain beers before, you’ve got what you need—the difference comes down to managing the souring phase with care and precision rather than requiring new equipment.
Related: Brewing Recipe for Pilsner Beer
Ingredients List
For 5 gallons:
- 5 lbs Pilsner malt
- 5 lbs white wheat malt
- 0.5-1 oz Hallertau or Tettnang hops (low-alpha noble variety)
- 0.5-1 oz sea salt or Himalayan pink salt
- 0.5 oz coriander seeds (whole, crushed fresh)
- Lactobacillus plantarum culture or 5 oz Goodbelly probiotic drink
- German ale yeast (Safale K-97, WLP029, or Wyeast 1007)
- Food-grade lactic acid for pre-acidification
Mashing Process
- Calculate strike water to hit 150-152°F for a single infusion mash using about 1.25-1.5 quarts of water per pound of grain. Heat the water slightly hotter than the target, since the grain will cool it down.
- Mix grain and water, then hold at the target temperature for 60 minutes to convert starches into fermentable sugars. Stir occasionally if desired.
- Run an iodine test after 45 minutes by placing a few drops on a white plate with a small wort sample. It should stay yellow or amber rather than turning black or purple.
- Raise the temperature to 168-170°F for mash-out to stop enzyme activity and improve lautering.
- Start vorlauf by recirculating first runnings until the wort runs relatively clear instead of cloudy with grain particles.
- Sparge with 170°F water, collecting enough wort to account for boil-off and leave you with 5 gallons in the fermenter. Target pre-boil gravity around 1.032-1.036, which should reach 1.040-1.045 original gravity after the boil concentrates things.
Extract brewers can skip this entire process by using wheat-focused liquid malt extract or a 50/50 blend of wheat and pilsner extract.
Kettle Souring Method
After collecting wort, boil for 10-15 minutes to sanitize, then cool to 90-100°F. Add food-grade lactic acid to drop the pH to around 4.5 before pitching Lactobacillus—this pre-acidification inhibits unwanted bacteria while your Lacto thrives. Pitch your culture (5 oz Goodbelly or commercial strain) and prevent oxygen exposure by purging headspace with CO2 or covering tightly with plastic wrap pressed onto the wort surface. Maintain 90-100°F throughout souring using blankets, heat wraps, or an oven with just the pilot light on. The process takes 24-48 hours to reach the target pH of 3.4-3.5. Start checking pH and taste after 18 hours. Good souring wort smells pleasantly tart and yogurt-like—foul aromas indicate contamination. Once you hit the desired sourness, bring the wort to a boil to kill all bacteria and lock in your tartness level.
Boil and Flavor Additions
Boil the soured wort for 15-30 minutes to sanitize and achieve a hot break. This shorter boil works fine since you’re not chasing high hop utilization.
Addition schedule:
- Start of boil: Add 0.5-1 oz Hallertau or Tettnang hops for 10-15 IBUs of minimal bittering
- Last 5 minutes: Add 0.5-1 oz sea salt (start conservative—you can add more during packaging)
- Flameout: Add 0.5 oz freshly crushed coriander seeds, then let steep for 10-15 minutes
Taste a cooled sample to check salt level—you want slight saltiness without it being overpowering. Cool to 65-68°F using your chiller, transfer to a sanitized fermenter, leaving behind the trub, and aerate well by shaking or using an aeration stone.
Related: The Ultimate Hard Cider Recipe
Fermentation
- Pitch your yeast at 65-68°F once the wort is cooled and transferred to your fermenter. For dry yeast like Safale K-97, rehydrate in warm water first to give cells the best start in the acidic environment. Liquid strains like WLP029 or Wyeast 1007 work great, but if they’re older than a month or two, make a starter a day or two before brew day to ensure you’ve got enough healthy cells.
- Maintain a steady temperature at 65-68°F throughout primary fermentation. Use a temperature-controlled fermentation chamber or swamp cooler if needed. These German ale strains produce clean flavors in that range without throwing fruity esters that would compete with the sour and spice character.
- Monitor fermentation activity starting within 12-24 hours, when you should see airlock bubbling as fermentation kicks off. Active fermentation typically lasts several days before gradually slowing down.
- Check gravity readings starting around day 5 or 6 using your hydrometer. You’re targeting a final gravity around 1.008-1.010, which gives you that dry, crisp finish the style needs.
- Confirm fermentation completion by taking readings a couple of days apart. If you see the same number two or three times, fermentation’s done, and you’re ready to package.
- Plan for 1-2 weeks total in primary fermentation. Gose stays fresh and bright, so avoid extended aging that can dull those vibrant flavors. Cold crashing at 40°F for a few days helps clarity slightly, though it’s optional since gose should be hazy anyway.
Packaging and Serving
Gose needs high carbonation at 2.8-3.2 volumes of CO2 for that signature effervescence. For bottle conditioning, use 5-6 ounces of corn sugar for 5 gallons, then store at room temperature for 2-3 weeks. Kegging allows precise control—set regulator to 12-14 PSI at 38°F for a week. Serve cold at 40-45°F in a stange or tulip glass to showcase the hazy appearance and fluffy white head.
Serving tips:
- Pairs beautifully with seafood, fresh salads, and light summer appetizers
- Complements fried foods with its bright acidity
- Try fruit additions like watermelon or blood orange in future batches
- Experiment with different salts or spice variations
- Best enjoyed fresh rather than aged
Your First Gose: A Summer Crusher Worth Brewing
Brewing your own gose beer recipe at home puts you in control of one of summer’s most refreshing styles. You’ve got everything you need now—the straightforward kettle souring method, simple ingredient list, and step-by-step process for nailing that perfect balance of tart, salty, and spiced. Your standard homebrewing gear handles the job, and the whole process stays approachable once you master temperature control during souring. Trust your pH meter and palate to hit that signature lemony tartness, then carbonate it high to let those bright flavors really pop. Serve it cold with seafood or salads, and once you’ve dialed in your base recipe, start experimenting with fruit additions to make this historic Leipzig style your own.